
内核pwn入门
- 参考文章:https://bbs.kanxue.com/thread-276403.htm
- 参考文章:https://www.cnblogs.com/unr4v31/p/15725128.html
- 参考文章:https://x1ng.top/2020/12/22/kernel-pwn入门之路-一/
前提介绍
内核与用户pwn的区别
- 内核pwn和用户pwn的区别如下:
- 获取权限:最大的区别就是用户的pwn是拼凑
system('/bin/sh'),这样以后就可以getshell。而内核的pwn是提权,各种操作后将Linux的操作权限从用户变成root权限。 - 代码量:用户pwn大多都对程序进行攻击,内核的pwn是对操作系统的内核,攻击对象由程序这层转变为操作系统这层。这就意味着需要阅读内核代码,这代码量往往比用户pwn大得多。也需要更扎实的操作系统理论知识。
- 保护机制:内核的保护机制也和程序的保护机制用差别。
- 获取权限:最大的区别就是用户的pwn是拼凑
基础1
搭建内核pwn的环境
- 这前面的文章有写,但是写的不是很好。过段时间再进行整理一下。
附件介绍
-
以2024年9月的长城杯一个内核pwn的题目做介绍,刚好试试能不能复现一下。
-
附件如下:https://wwsq.lanzoue.com/iZCI929l3qli 密码:ghfb
-
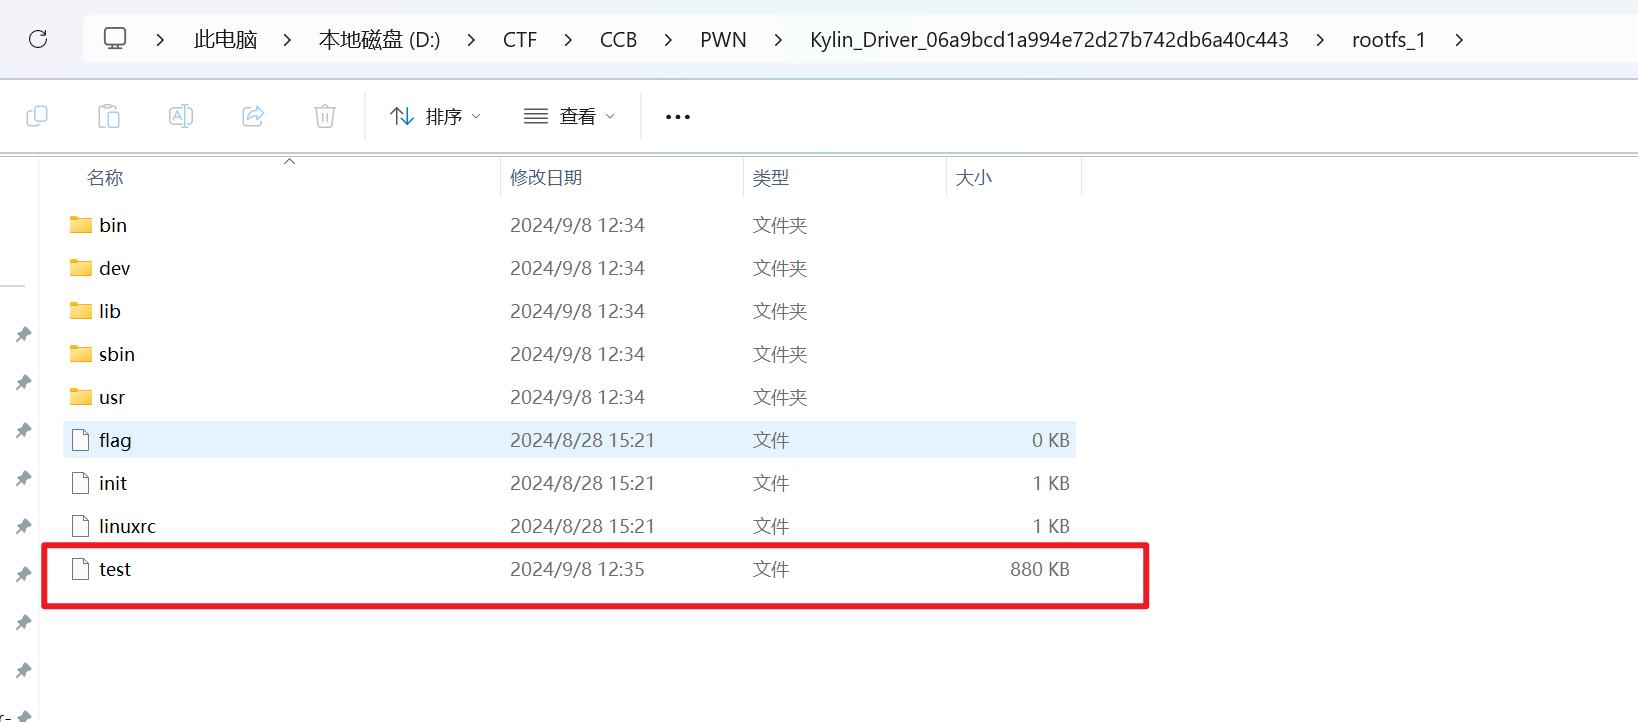
题目给的附件结构如下:
1 | . |
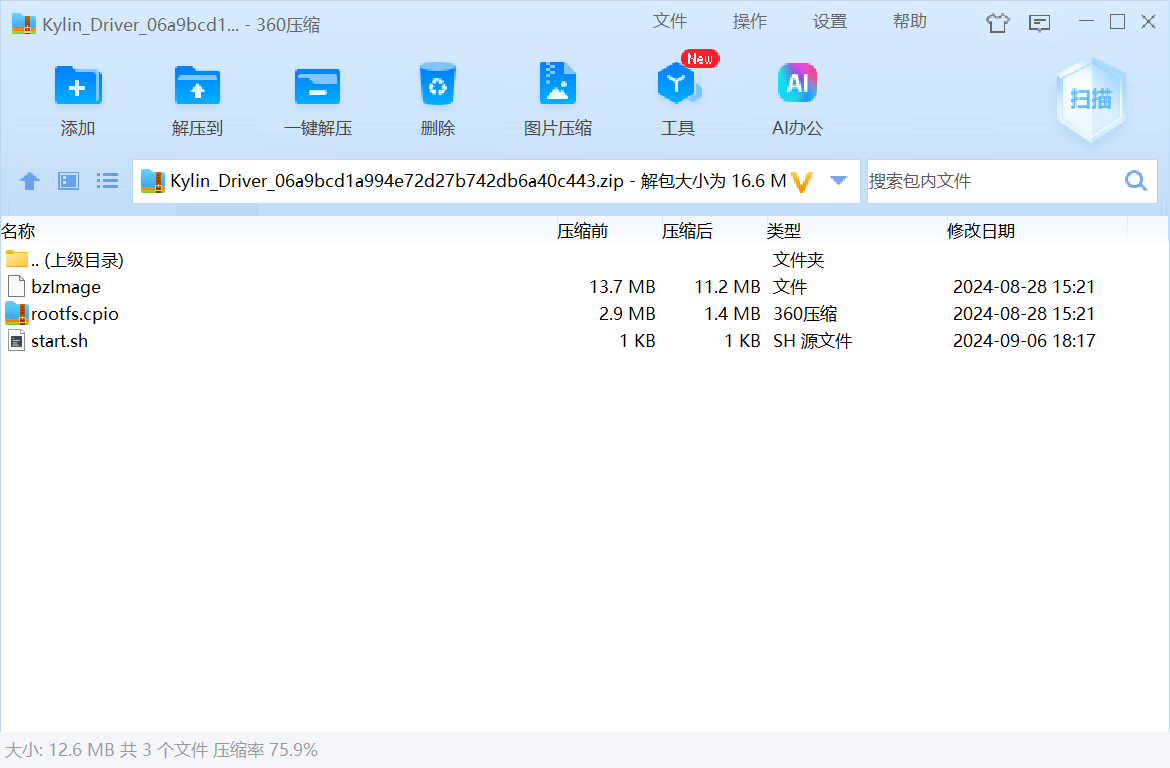
内核文件–bzlmage
-
bzlmage这个还是比较熟悉的,之前在重新编译wsl内核的时候看见过该程序,大概知道这个是内核,但是还没具体了解
-
bzlmage这个是压缩后的Linux内核的镜像文件,它是一种大于传统的zImage格式的内核镜像。bzImage是 Linux 内核的引导镜像,用于引导系统启动。- 在内核pwn中,如果要开发一个远程漏洞利用脚本,理解
bzImage的结构和启动过程可能会有助于理解漏洞的触发条件以及内核的内存布局。 - 可能会要对
bzImage进行逆向,以深入分析内核的行为、检测安全漏洞。 - 使用
balmage是比较难找gadget,这时候需要使用工具将该压缩后的内核文件解压成vmlinux文件,可以使用ropper在提取的vmlinux中搜寻gadget,ropper比ROPgadget快很多,所以需要安装ropper - 将
bzlmage这个提取出vmlinux的工具网站如下。https://github.com/torvalds/linux/blob/master/scripts/extract-vmlinux,提取操作在下面
-
vmlinux是未压缩的Linux内核映像,包含完整的内核代码段和数据段。- 通常包含调试符号,能够通过
gdb等调试器加载进行符号化调试。 - 可以直接通过ROP工具或手动查找gadget,比如用
ROPgadget、ROPg等工具搜索gadgets。
- 通常包含调试符号,能够通过
启动脚本--start.sh
- start.sh其实就是一些qemu的启动命令。
1 |
|
- 给这个脚本附加权限
chmod +x start.sh后然后运行这个脚本就可以启动该内核环境

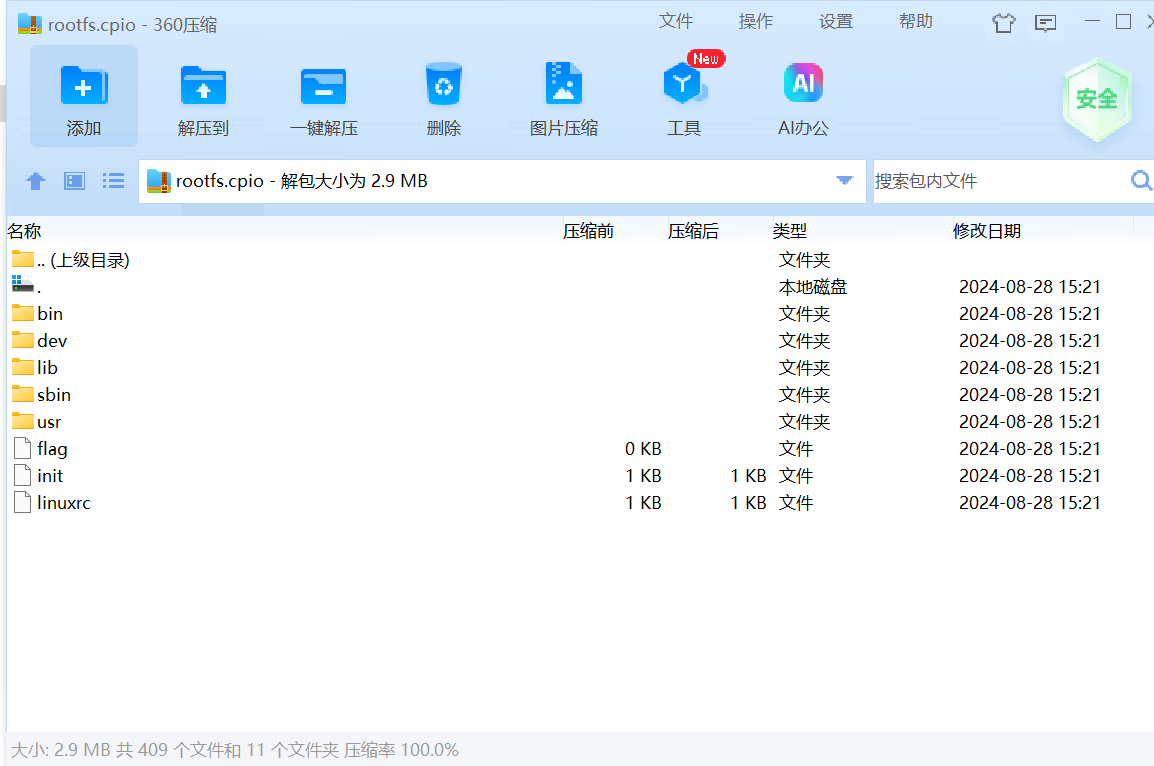
初始RAM磁盘文件–rootfs.cpio
- 这个文件与内核文件一样重要,这里面也存在几个很重要的文件
- 之后会介绍如何将一个文件夹打包成这个文件,因为我们需要将静态编译好的用c语言写的
exp文件放入这个文件中,然后再打包这个文件,学会打包这个文件是很重要的 - 下面先介绍几个比较重要的文件(可能不全,还需要待补充)
初始化文件–init
-
init文件是系统启动时执行的第一个用户空间进程(PID 1)。它负责初始化系统,设置环境并启动其他进程。对init文件的分析可以帮助你理解系统的启动流程和配置。 -
init文件中包含的脚本和命令决定了系统如何挂载文件系统、设置网络、启动服务等。这些操作通常涉及到与内核的交互,并可能暴露潜在的漏洞或不安全的配置。 -
通过分析
init文件,你可以获得有关如何启动和配置系统的信息。这些信息有助于你确定如何在内核或内核模块中寻找潜在的漏洞。 -
接下来我们来看一下
init这个文件里面的内容- 从init里面的内容就可以比较快速的找出一些漏洞比如
test.ko模块的代码和/dev/test设备的权限配置可能包含可利用的安全漏洞。- 并且知道了该系统启动时是以uid为1000的用户身份,而不是root身份
- 从init里面的内容就可以比较快速的找出一些漏洞比如
1 |
|
内核模块–test.ko(目前)
.ko文件表示这是一个可加载的内核对象文件,通常用于扩展内核的功能而不需要重新编译整个内核- 基本作用:内核模块可以增加内核的功能,如支持新的硬件设备、文件系统、网络协议等。
- 作为驱动:
.ko文件是设备驱动程序,它们允许操作系统与硬件设备进行交互。
解压bzlmage
- 先在linux下,先使用wget拉取该仓库里面的内容
1 | wget https://raw.githubusercontent.com/torvalds/linux/master/scripts/extract-vmlinux |
- 先chmod给执行权限
- 然后执行命令,即可解压,注意本题解压这个
bzImage文件会出现extract-vmlinux: Cannot find vmlinux.- 所以我换了一个
CISCN2017-babydriver的bzImage进行解压
- 所以我换了一个
1 | ./extract-vmlinux ./bzImage > vmlinux |

安装使用Ropper
- 安装
Ropper
1 | pip3 install ropper |
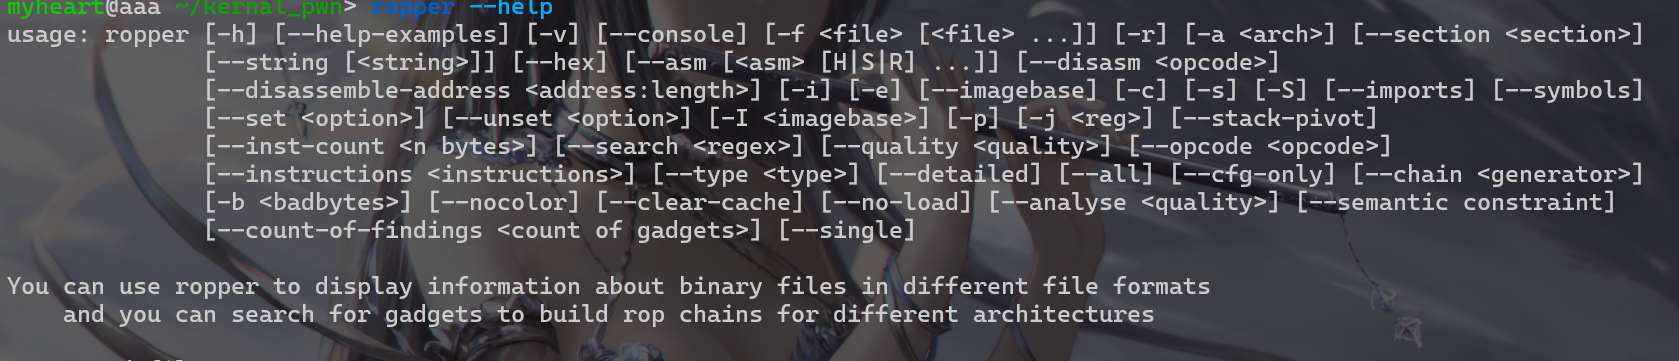
- 下载好后输入命令,看看Ropper是否安装好了
1 | ropper --help |
- 使用如下命令查找
rop链
1 | ropper --file vmlinux |
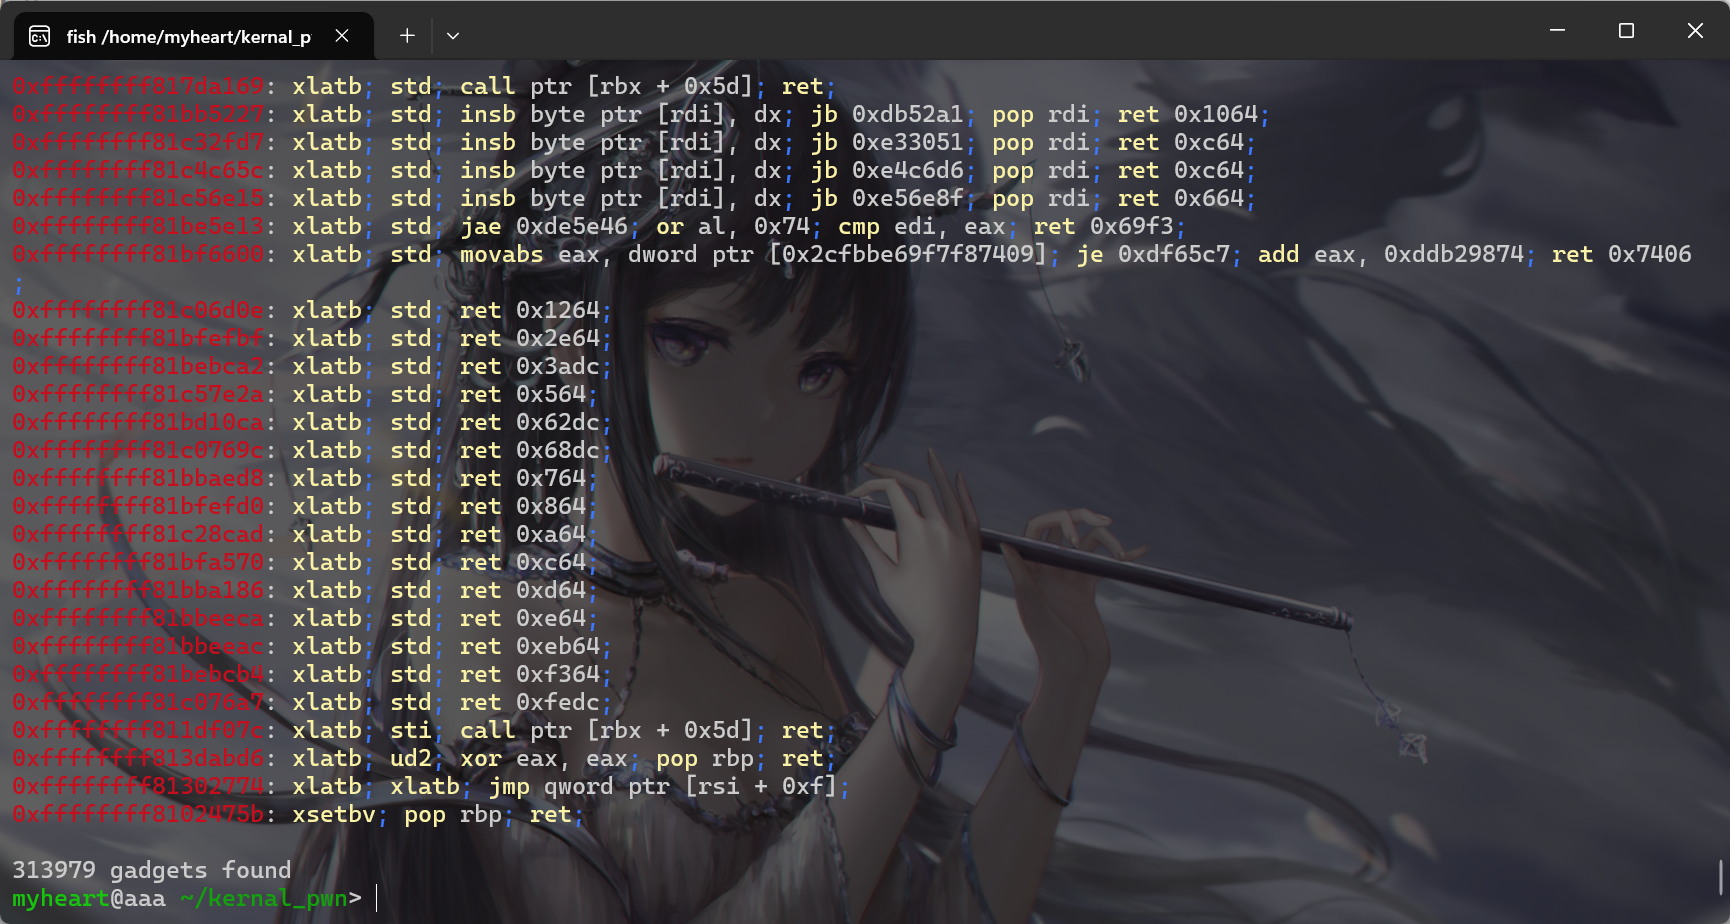
- 过滤和排序 ROP gadgets,过程很慢,因为文件量很大
1 | ropper --file vmlinux --search "pop" |
打包.cpio文件
- 打包.cpio文件过程如下,现在模拟一下编写好
exp如何进行提权。 .cpio文件可以直接用zip等解压,也可以在Linux下使用cpio命令解压
- 在Linux下解压cpio文件,需要先创建一个文件夹用来存放解压后的文件,因为使用cpio指令解压后的文件是分散的。
1 | mkdir rootfs |
- 然后进入该文件夹
1 | cd rootfs |
- 进入文件夹后使用cpio命令解压cpio文件
1 | cpio -id < ../rootfs.cpio |
-i:解包模式。
-d:在解包过程中创建目录。
< archive.cpio:从 archive.cpio 文件中读取数据。
- 先将编写好的exp进行静态编译一下,然后编译成为二进制的文件,放入解压后的
.cpio文件中,然后
- 然后在Linux下输入该命令
1 | find ./rootfs1 -print | cpio -ov > rootfs1.cpio |
查看.ko文件的保护
-
ko是内核题比较重要的文件,有时候漏洞可能就是由这里面的代码造成的,所以会存在一些保护机制,这就需要查看一下保护机制 -
就直接使用
checksec查看保护就行
1 | checksec test.ko |

提权
-
cred结构体:kernel使用cred结构体记录了进程的权限,如果能劫持或伪造cred结构体,就能改变当前进程的权限。(这里可能不太详细,之后再来补充)
-
Linux源码网站:/pub/linux/kernel/ 的索引
-
查看源码,我查看的内核版本是
linux-6.9版本的内核,然后cred结构体在include/linux/cred.h文件下- 一般而言,我们需要想办法将uid和gid设置为0(root的uid和gid均为0)
- 在 Linux 操作系统中,UID(User Identifier,用户标识符)是一个唯一的整数,用于标识系统中的每个用户账户。
- 在 Linux 操作系统中,GID(Group Identifier,组标识符)是一个唯一的整数,用于标识系统中的每个组。
1 | /* |
内核的一些函数
- 关于在内核中有一些函数
本地打内核
- 用c写exp然后编译成可执行文件,然后再添加到cpio文件夹下,然后启动环境,运行exp,然后提权
远程打内核
-
远程打内核也是使用Python脚本打。
-
这里附上一个其他人博客的远程打内核pwn的脚本(只是示例,非本题)
- 远程打内核最重要的就是将exp上传到远程环境,然后在远程环境执行
exp即可提权,提权之后就可以cat flag - 该脚本中的
upload函数就是将exp发送给远程靶机,然后在靶机中执行该文件
- 远程打内核最重要的就是将exp上传到远程环境,然后在远程环境执行
1 | import sys |
内核保护机制
基础2
-
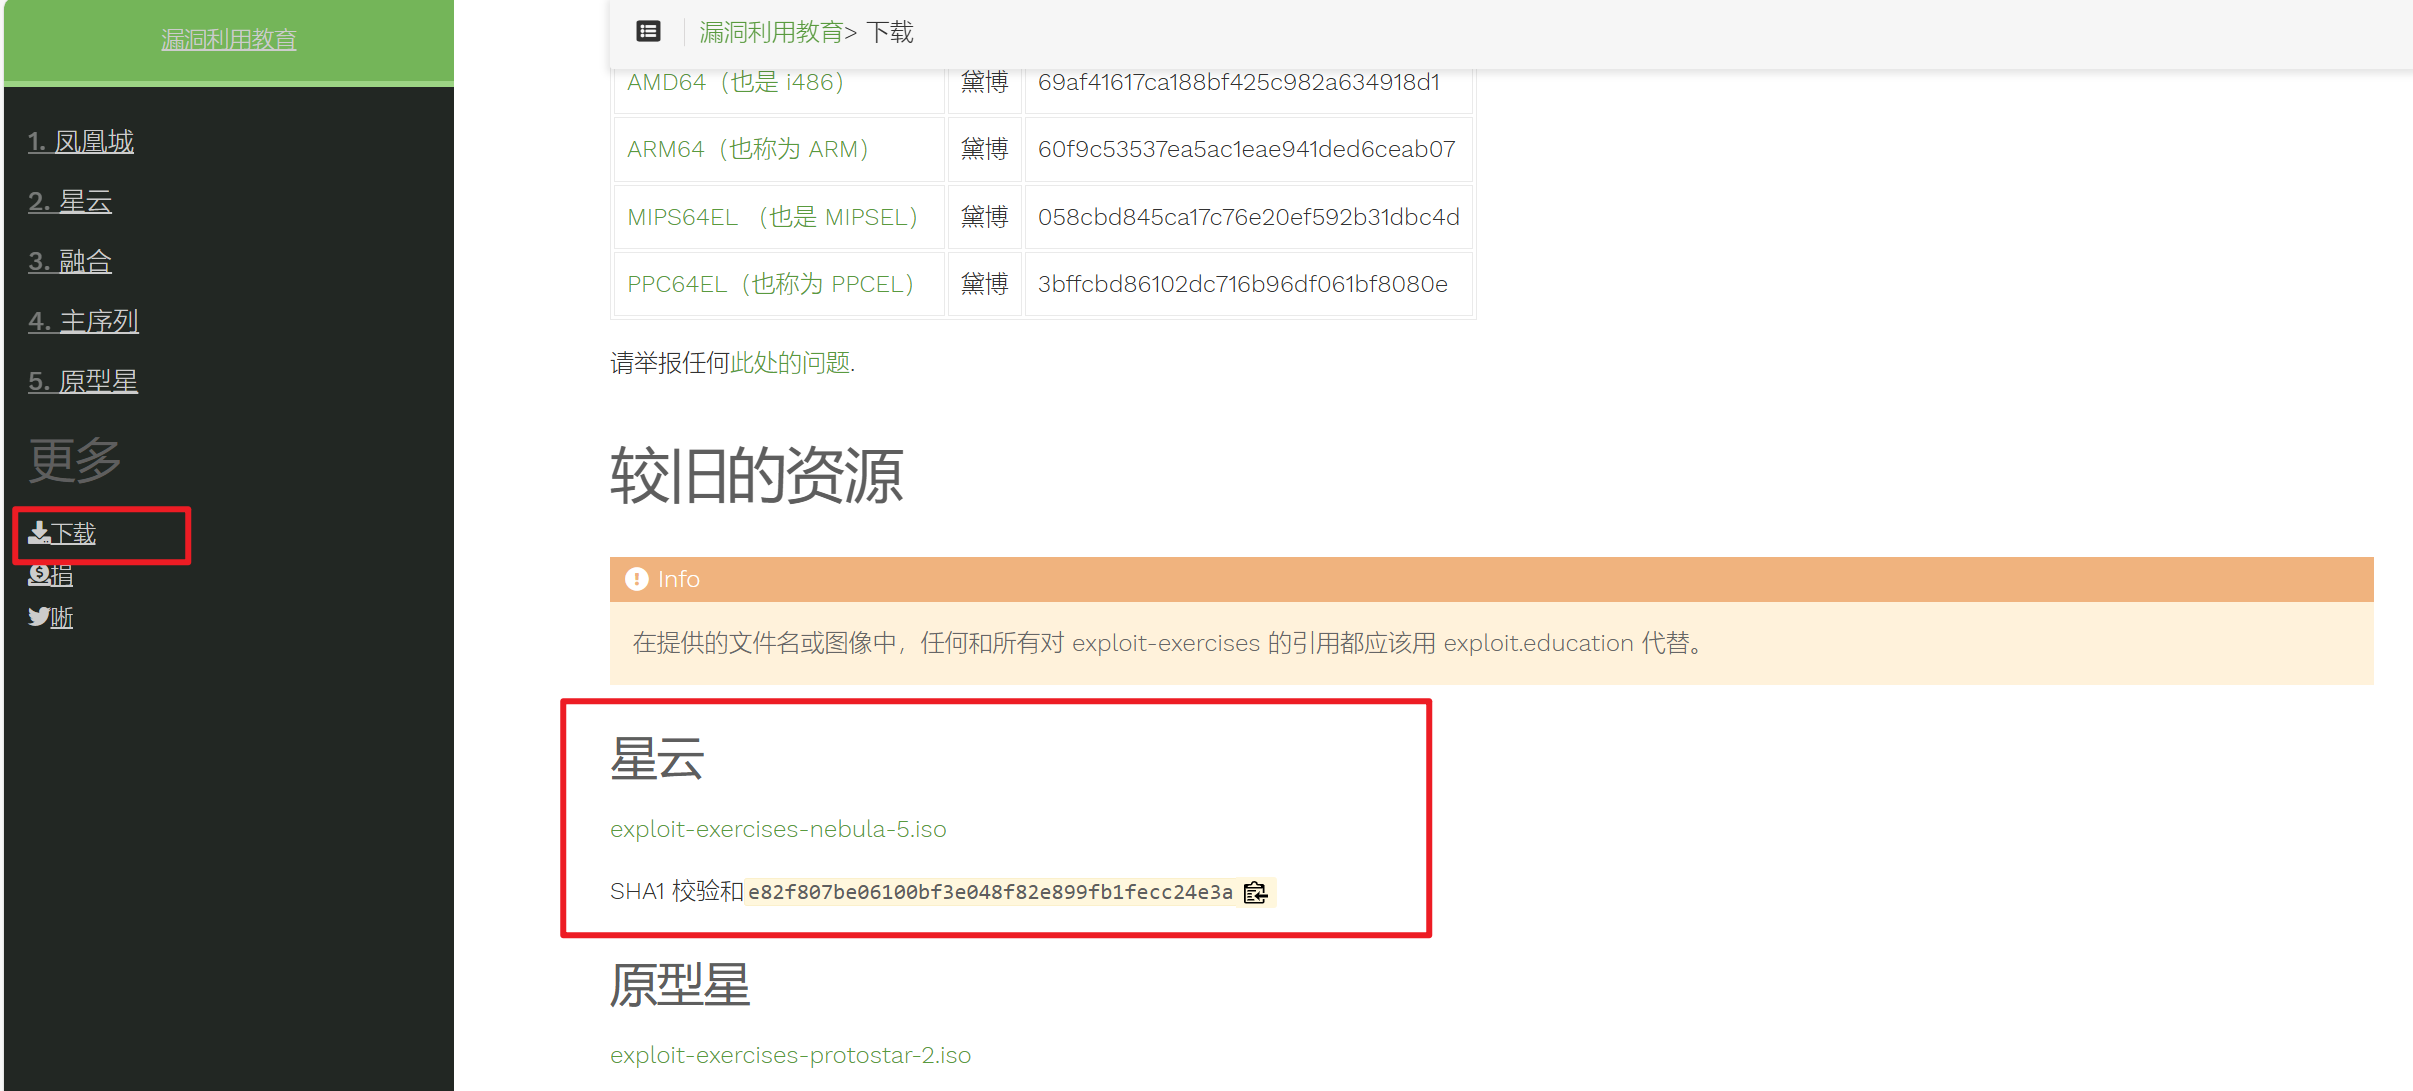
在打内核pwn之前先稳固一下基础,这里我找到了一个关于Linux内核的实验网站漏洞利用教育 :: Andrew Griffiths 的漏洞利用教育 (exploit.education)
-
在这个网站上有Linux挺多实验的,对这些实验对了解操作系统的一些知识还是比较有帮助的。该网站还给了配套的虚拟机,我们创建一下虚拟机就可以对进行实验操作了
下载环境
- 在下载中可以找到对应的iso镜像文件,将镜像文件下载下来,然后使用VMware创建对应的虚拟机。
 wechat